Welcome to the Illusion Sew-Along, dear fellow Illusionists! 🙂 I’m so excited to embark on this journey with you and can’t wait to get started!
Click here to see the schedule of the sew-along.
As you are most likely aware, the Illusion quilt consists of a lot of units — 114 half square triangles (HSTs) and 71 flying geese (FG) to be exact! This means that we will need to cut a total of 114 squares for the HST units and 142 squares and 71 rectangles for the FG units. Needless to say, we’ll be pretty busy this week!
A side note: As I mention in the pattern, there are various ways to make HST and FG units. The techniques I am recommending will make two HSTs and 1 FG at a time. You may decide to make 4, 8, or more HSTs and 4 FG at a time using commonly known techniques. However, given that there are so many color combinations and each combination has a different number of units, the math may become tedious and the extra time you spend on trying to figure out the sizes you need to cut may not be economical. However, if you choose to use an alternative method to cut your fabric, please know that I’ll still be cheering for you! 🙂
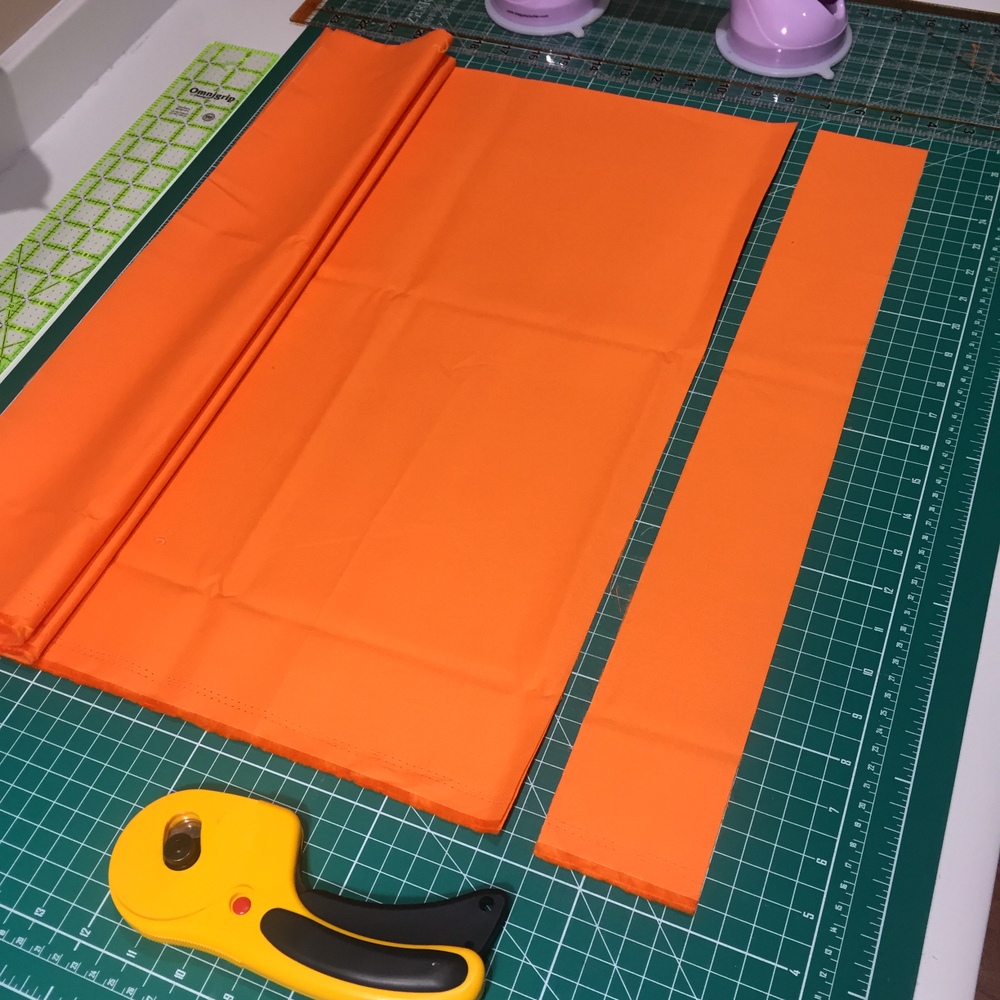
If you want to follow the instructions in the pattern, you will need to first cut strips along the width of fabric and then cut each strip into squares or rectangles.
We will be working with two measurements for the strips: one for HST squares and the other for FG squares/rectangles. The exact size will depend on the size of the quilt you are making. If you are making the lap quilt, for example, the strip measurements you need to keep in mind are 5 inches and 4.5 inches. For the wall hanging, they are 3 inches and 2.5 inches. For the larger sizes, you can refer to this post.
Pick a color to cut first, and then refer to the tables on page 2 of the pattern. Figure out how many strips you need to cut based on the size of squares and rectangles. If you’re not sure, just cut one strip first and see how many pieces you get.
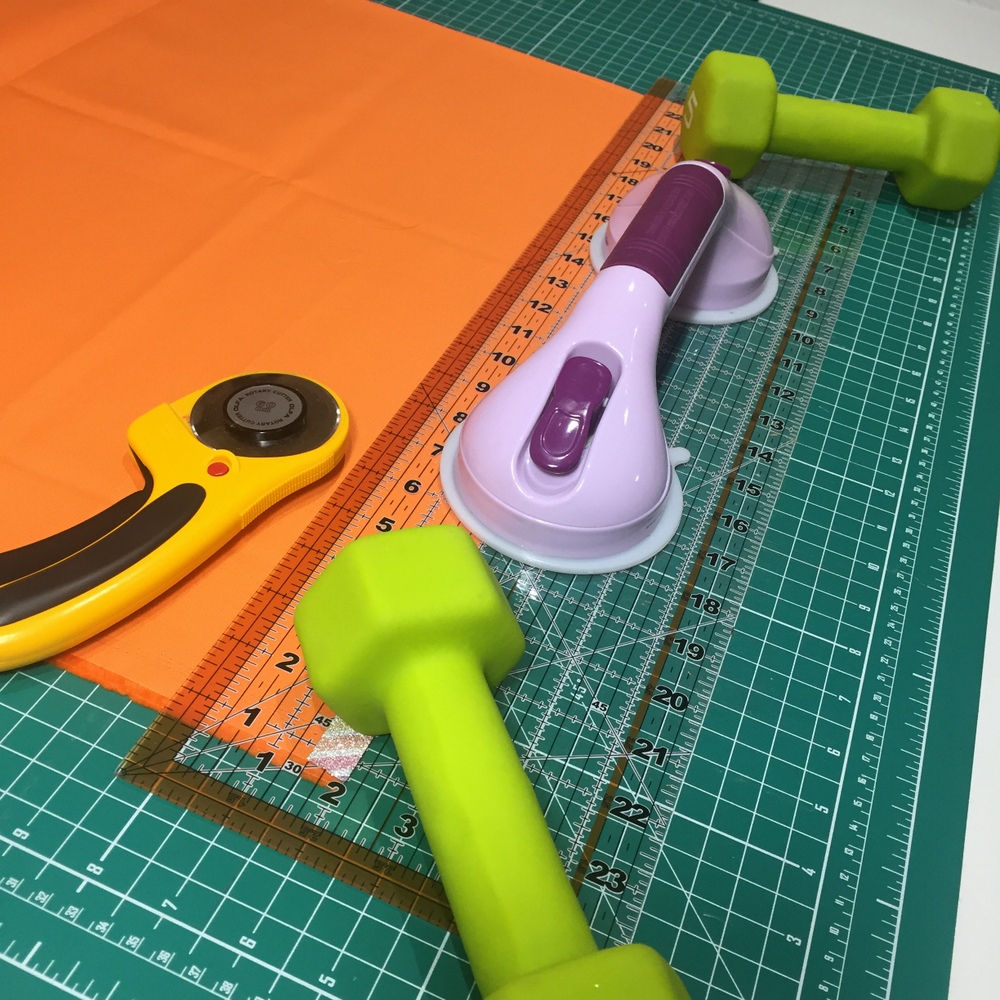
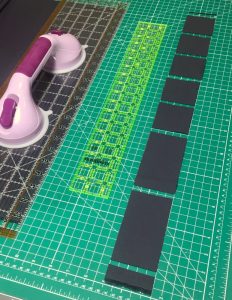
TIP: I like to keep my fabric folded in the middle and cut two layers at a time. Since the strip will be a long piece, you may find that your ruler slips. One tip I’ve learned from Donna Jordan over at Jordan Fabrics a while back is to use hand weights to hold the ruler down. They work like magic! I always keep two 5 lb weights on my cutting table for this reason.
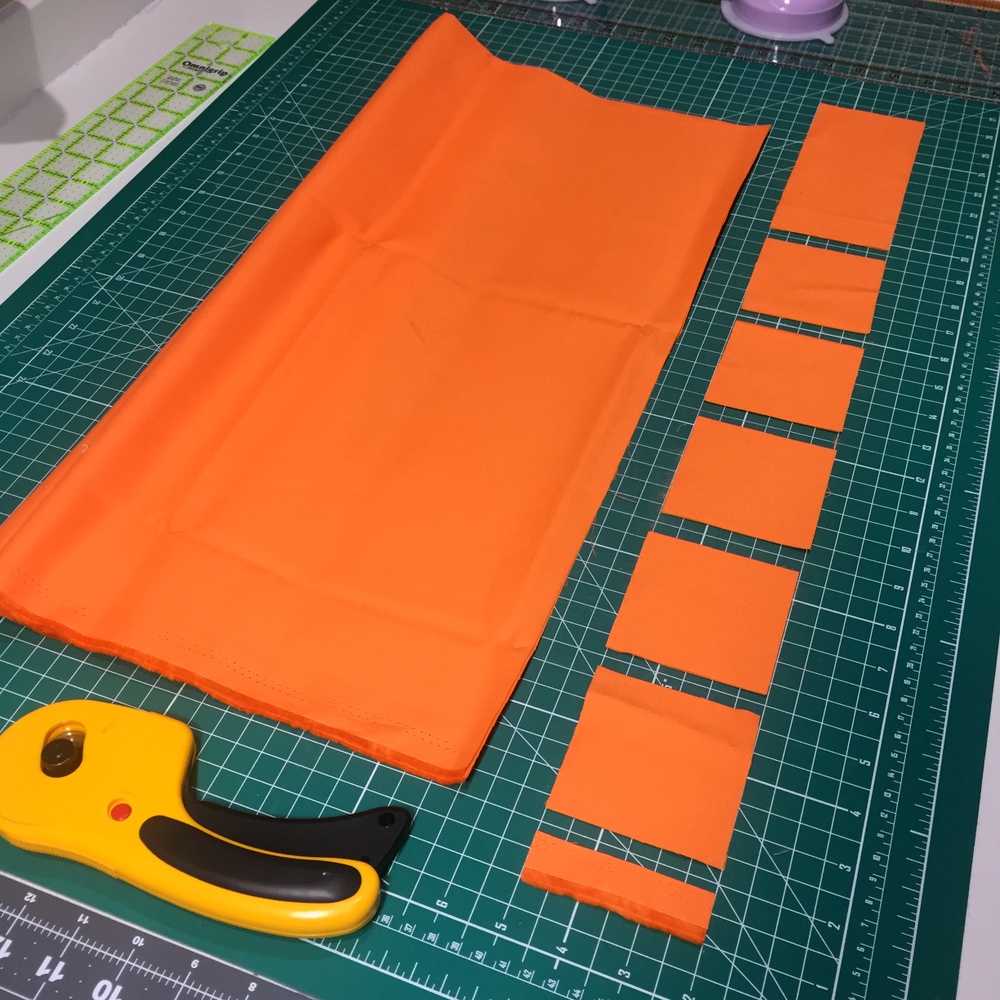
Once you have the strip discard the selvage and cut the strip into squares, once again keeping the fabric folded, so that with each cut you get two squares.
As for the FG rectangles and squares, I would first cut the rectangles and then move on to squares. That way you can get some of the squares out of whatever amount is leftover after you cut the rectangles. For certain colors, this may save you some fabric for future fun!
So, what do you do once you have all your pieces cut? I like to use small sticky notes to label the fabrics (especially important in this project, since the colors are so similar to each other) and put them in little bags so that they are all in one place until I am ready to piece.

For the over-achievers: Let’s say you’ve already cut all your pieces and want to do more before we start piecing next week. Here’s what you can do: mark diagonal lines on your squares! Just from one corner to the other. These lines will come in handy when we start building our HST and FG units next week.
So now, let the fun begin! I look forward to seeing your fabric in pieces! 😀 Don’t forget to share your progress here in the comments or on Instagram using #papatyadesigns and #IllusionSAL!
If you have any questions, don’t hesitate to leave a comment!