
Click here to see the schedule of the sew-along, where you can also access the previous posts for the sew-along.
Happy Wednesday, dear fellow Illusionists! I hope cutting the fabric was easy and breezy and fun (well, as much fun as it could be)! 🙂
This week, we’ll start working on making 114 half square triangles (HSTs)! Given the number of HSTs, I’ve actually set aside two weeks, so if you fall behind this week, you can catch up next week!
(I know that some of you have chosen to make four or eight HSTs at a time, so the tips below will not necessarily apply to them. We’ll all be on the same page when it comes to pressing and trimming the units though!)
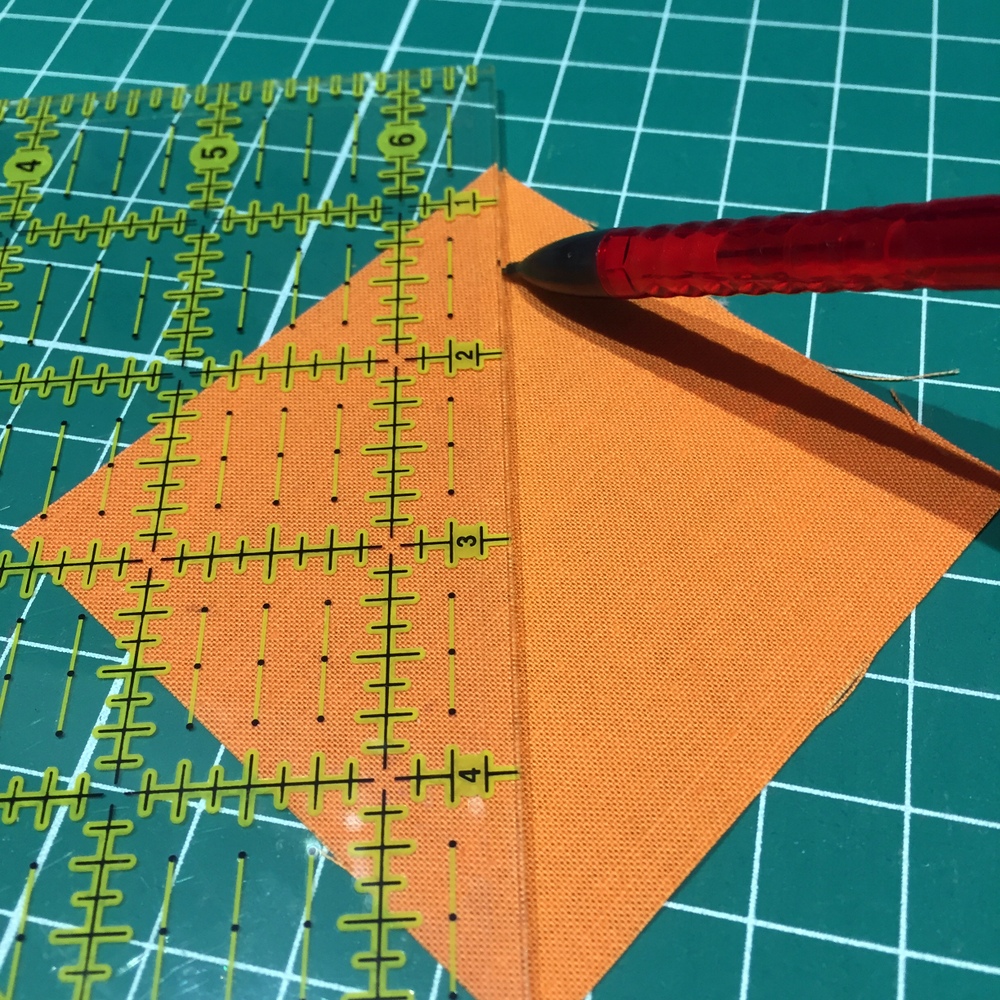
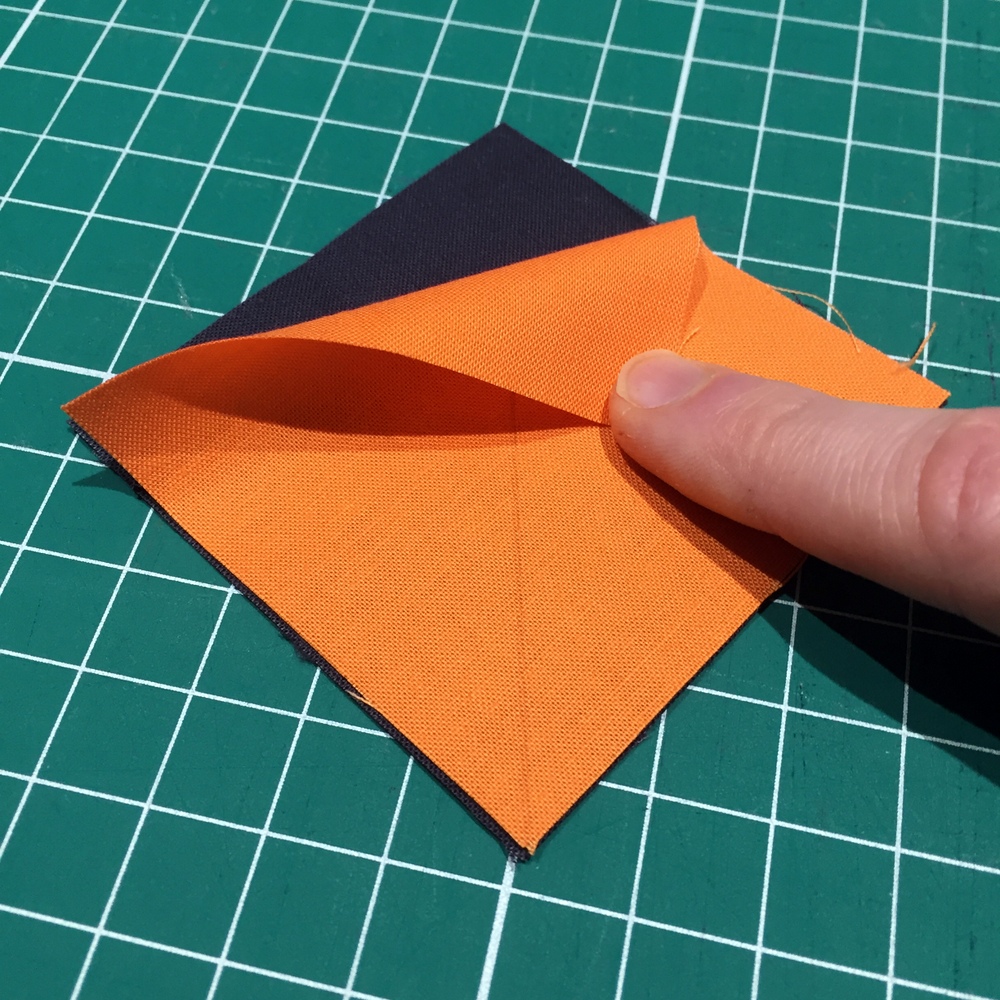
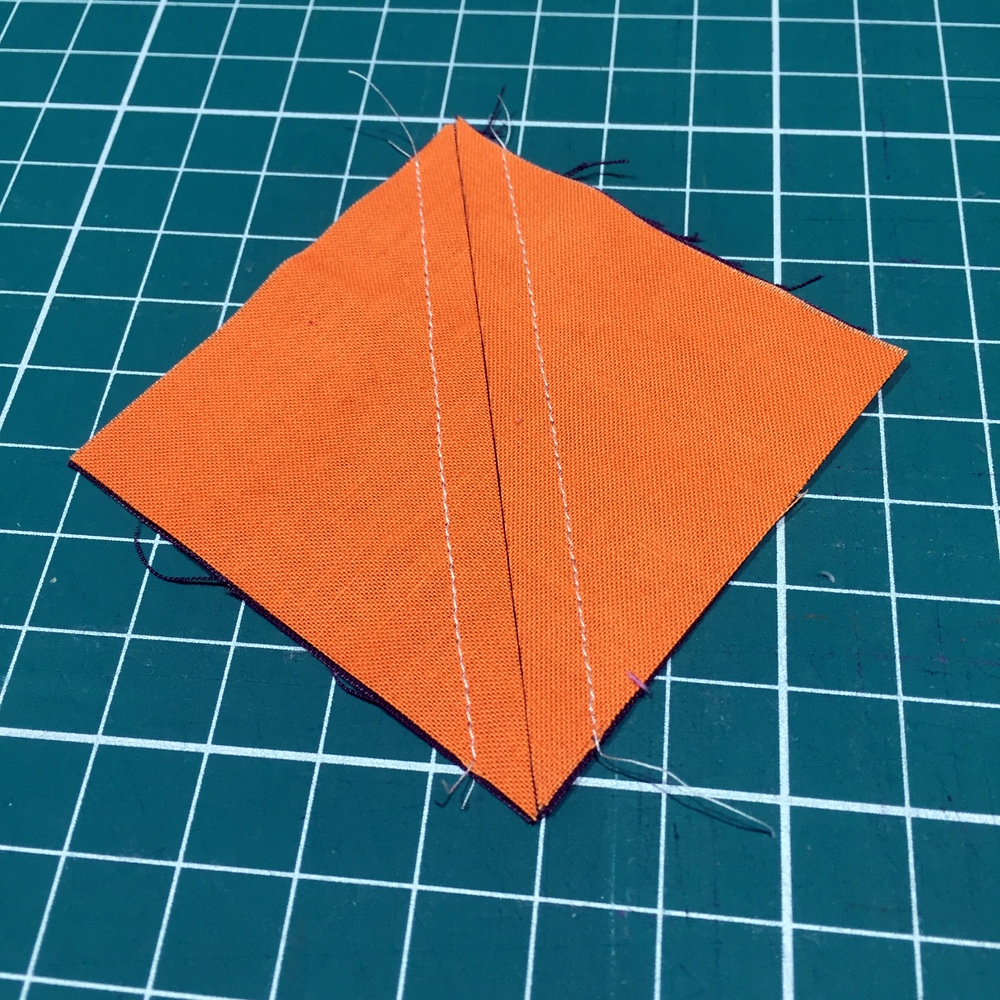
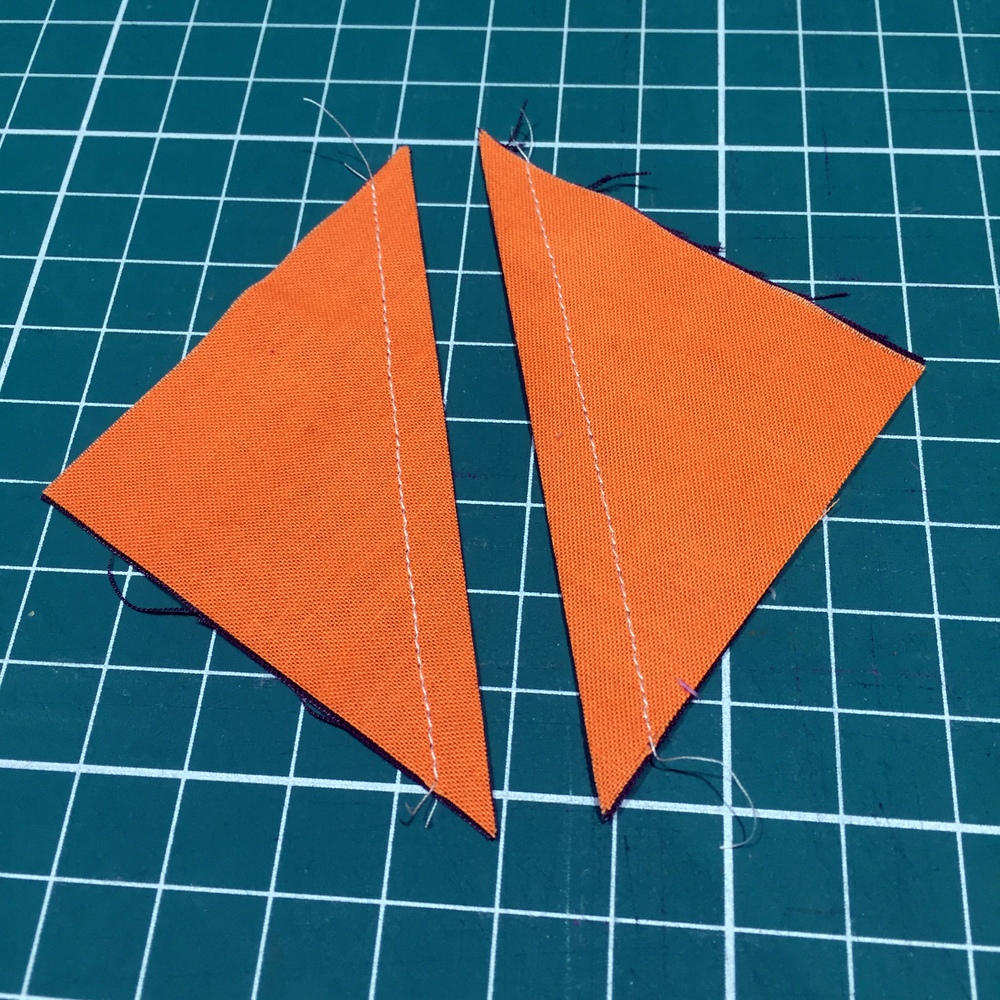
So, you’re probably familiar with this method of making two HSTs. You take one square, mark a diagonal line on the wrong side, put it against the other square right sides together, sew a quarter inch outside the line on both sides, and cut the piece along the diagonal line.
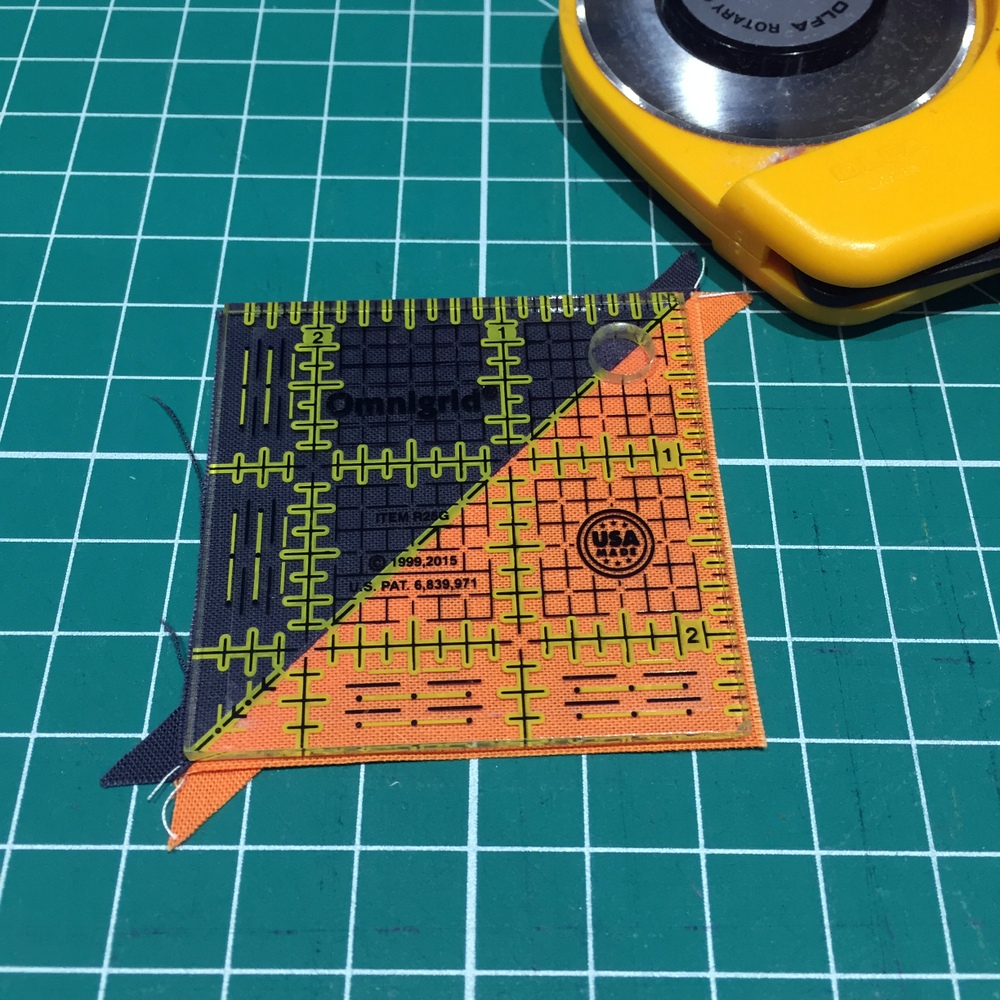
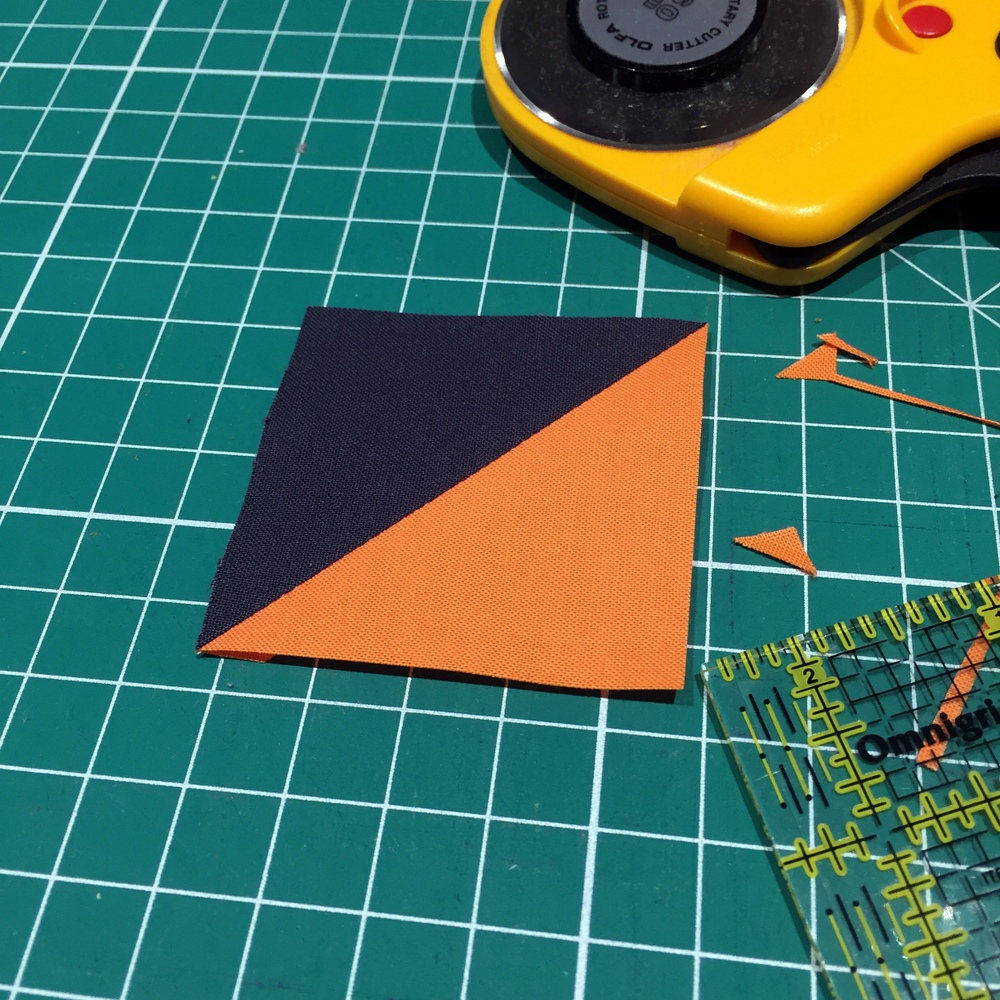
You finish by pressing the HSTs and trimming them. (Some people prefer trimming before pressing, but I like to press first.)
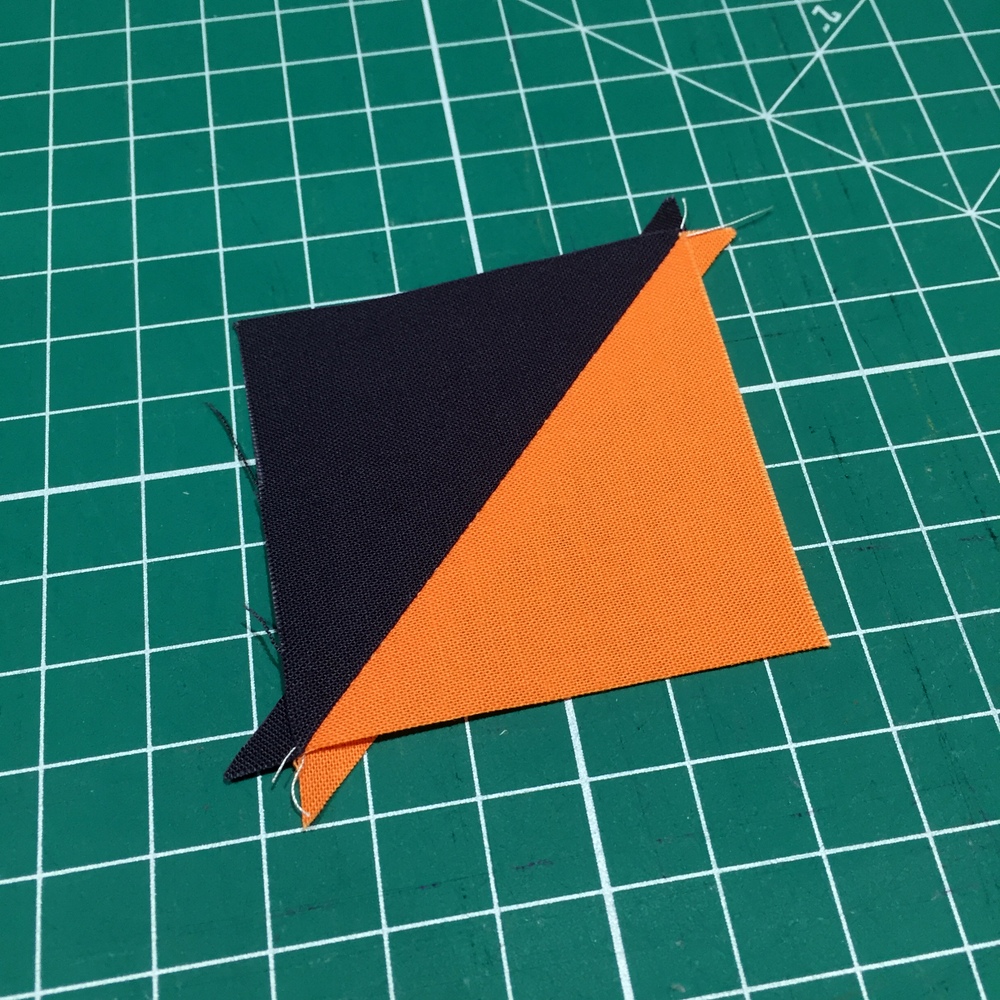
When piecing, I like to form an assembly line, so I focus on one task at a time. I usually draw the diagonal lines on a lap desk in front of the TV, then I cut all the lines one after another, and so on. This method is efficient not only because you get better and faster at each task the more you do it, but it also saves you from moving from the cutting station to the ironing board back and forth, if they are not right next to one another. (Can you tell that I’m an economist by training? 🙂 )
So, my focus this week will be on the first few steps. I’ll leave pressing and trimming to next week.
As I mention in the pattern, the key to success with this quilt is good organizational tools. Included in the pattern are labels you can print and cut. You can also make your own. Whichever labels you use, labeling your units will make your life so much easier at the assembly stage.
For the over-achievers: Let’s say you’ve already prepared all your HSTs for pressing and want to do more. Here’s what you can do: Press your HST units and trim them to size! I recommend pressing them open to reduce bulk and also because planning for nesting seams is difficult since there is no predictable pattern to how the HSTs are placed.
So now, let the fun continue! I look forward to seeing your half-made HSTs! 😀 Don’t forget to share your progress here in the comments or on Instagram using #papatyadesigns and #IllusionSAL!
If you have any questions, don’t hesitate to leave a comment! Also, if you have any ideas on how to improve the HST making process, let us all know by leaving a comment!