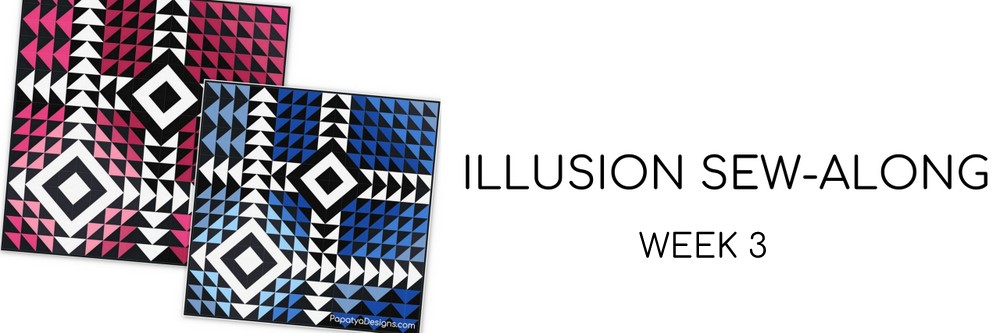
Click here to see the schedule of the sew-along, where you can also access the previous posts for the sew-along.
Happy Wednesday, dear fellow Illusionists! And congratulations to Colleen and Tina, who have powered through the sew-along and already finished their Illusion quilt tops – one in pink and the other in orange! They are both gorgeous!!
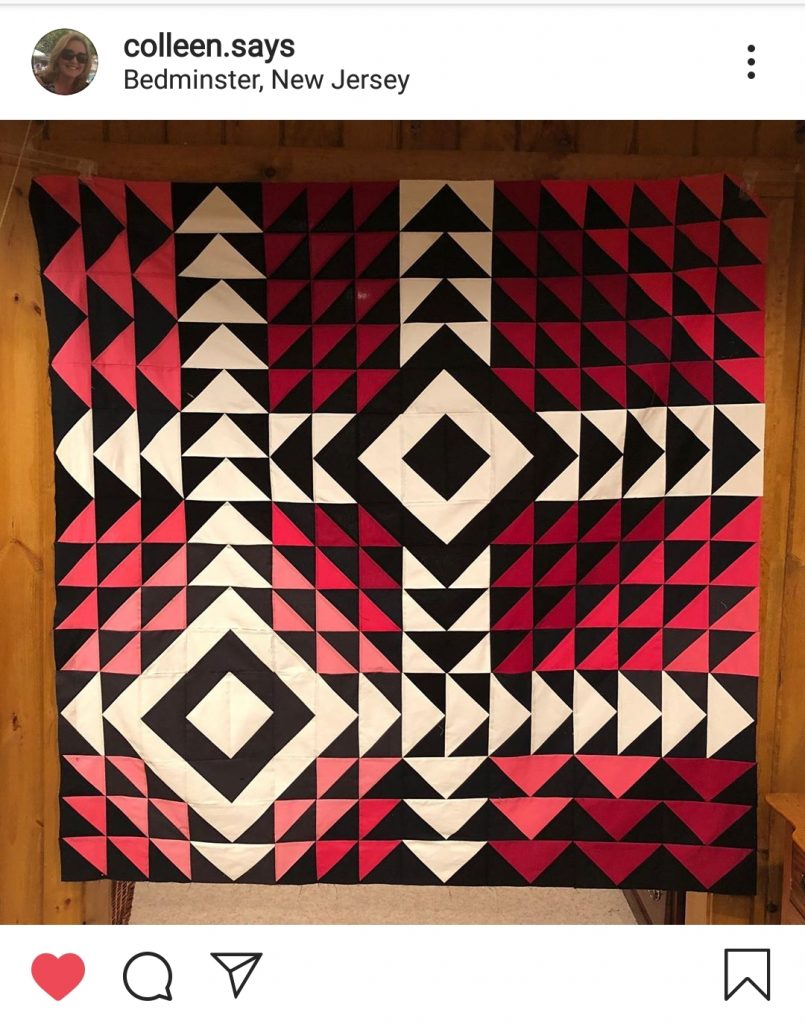
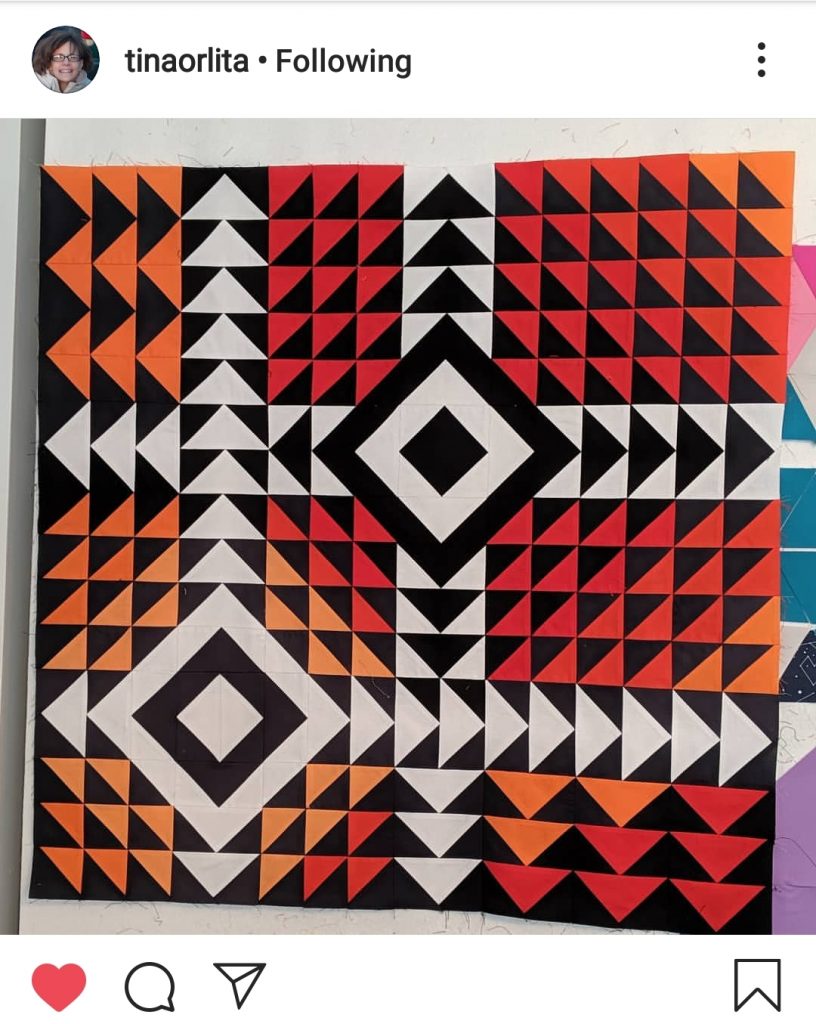
Check out the hashtag #IllusionSAL on Instagram to see other pictures from fellow quilters!
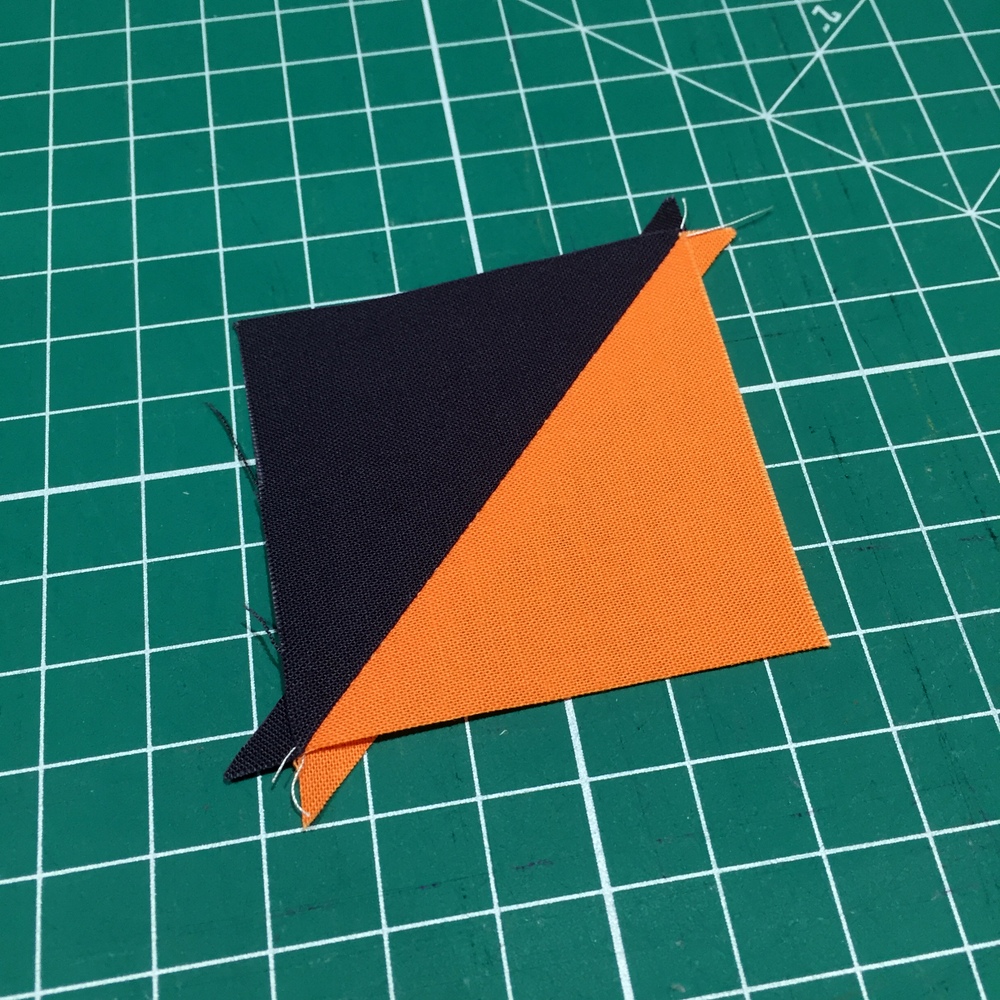
This week, we’ll finish making the 114 half square triangles (HSTs)! Two steps remain: pressing and trimming.
Seam pressing preferences are very personal, and you can find people on both sides of the aisle. Some quilters are adamant that seams should be pressed to one side, preferably the dark one. Others swear by pressing seams open. My preferences are more utilitarian. I think both ways have their pros and cons.
For Illusion, however, I do strongly recommend pressing seams open for two reasons. One, pressing seams open helps the quilt top lay flat. Since there are so many seams in Illusion, pressing to one side may result in bulkiness, which could be troublesome at the quilting stage. When pressed open, Illusion should lay flat, making it easier to baste and quilt.
Two, the visual effect of Illusion partly depends on how well the points match. Now, a few slightly off-points here and there won’t be very noticeable. My points on the sample Illusion quilt were certainly not perfect! 🙂 However, you do want most of your points to match. One way to do that, if you’re pressing seams to one side, is to nest the seams. In other words, you want your seams to face two different directions where they meet. In some quilts this is quite easy to plan for. Not so much in Illusion. The pattern is too irregular to come up with a rule. So, if you press your seams to one side, either to the black/grays or the colorway of your choice, chances are you’ll end up with seams that don’t nest. If you press your seams open, on the other hand, you can line up your seams point to point when piecing the quilt top.
Having said that, pressing seams to the side may be beneficial if you’re considering stitch-in-the-ditch quilting. In my experience, this kind of quilting is harder when the seams are pressed open, since there’s no “ditch” to hide your stitches in. Also, the old quilters’ wisdom is that you should be quilting on the fabric, not on the thread. So, when deciding how to press, you may want to think a few steps ahead and consider how you’ll want to quilt Illusion.
One other tip on pressing: black fabric is notorious for getting a shine on when pressed with a hot, steamy iron. I recommend using a pressing cloth when pressing your units.
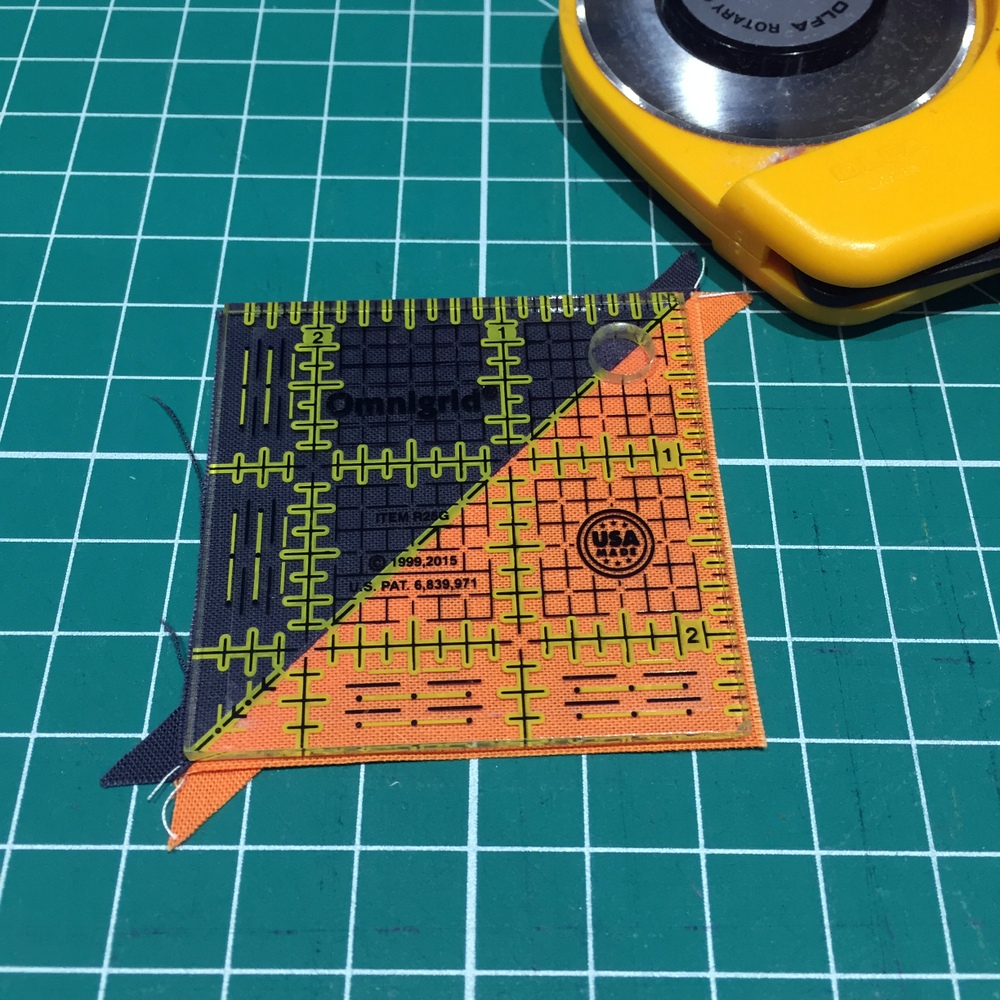
As for trimming, I use regular square rulers to trim the units to size. I’ve been wanting to use Bloc-Loc rulers that reduce shifting of the ruler when trimming. However, for Bloc-Loc to work properly, you need your seams pressed to one side, not open. So, keep that in mind if you’ll be using a Bloc-Loc. (Thank you, Meghan, for the tip!)
Finally, regardless of you how you decide to press and trim your HSTs, don’t forget to keep them labeled and organized!
For the over-achievers: Let’s say you’re already done with the HSTs, then it’s time to start working on the flying geese (FG) units! You can start by drawing diagonal lines on your squares whether you’re making one FG at a time or four!
So now, let the fun continue! I look forward to seeing your finished HSTs! Don’t forget to share your progress here in the comments or on Instagram using #papatyadesigns and #IllusionSAL!
If you have any questions, don’t hesitate to leave a comment! Also, if you have any preferences or tips on how to press or trim HSTs, let us all know by leaving a comment!