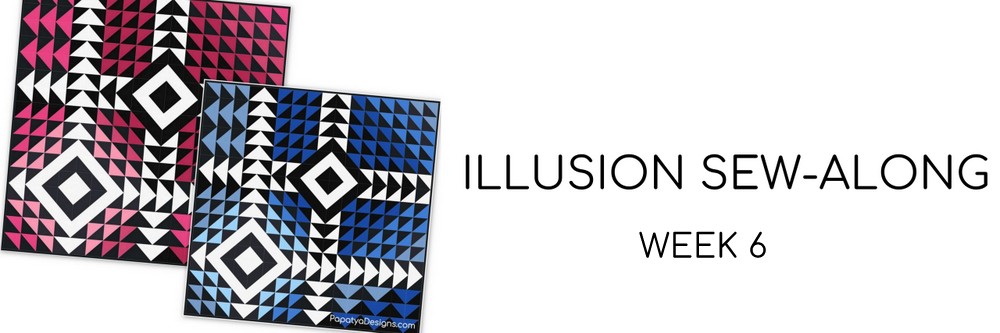
Click here to see the schedule of the sew-along, where you can also access the previous posts for the sew-along.
Dear fellow Illusionists, are you having fun assembling your blocks? I sure am! 🙂
This week, we’ll be doing more of the same, this time assembling blocks 4, 5, and 6. To read my tips on piecing the blocks together, please see last week’s post here.
As we get closer to being done with the quilt top, I’m sure you’re thinking about how to quilt Illusion. So, this week I wanted to show you a few quilting ideas I tested on samples.
When I first started thinking about how to quilt Illusion, I found it to be a bit tricky. I didn’t want the quilting design to lessen the striking effect of the patchwork. I wanted the quilting to either disappear completely, or better yet, complement the feeling of movement the patchwork design provides.
If you find yourself doubting any quilting designs you’re considering, remember that you can always choose to quilt in the ditch. Quilting in the ditch is actually one of my favorite ways to quilt whenever I want a soft, cuddly quilt that doesn’t take a very long time to quilt. If you’re considering this option, you’ll still need to choose which ditches to quilt in, since there are so many seams in Illusion. I recommend following the diagonal lines of the HSTs around the two central diamond shapes and switching to vertical / horizontal lines around the upper left / lower right corners of the quilt.
Another quick option is to go for an overall design. I would recommend choosing a simple design so that the patchwork, not the quilting, shines. Straight line quilting would be at the top of my list.
The examples I’ll show below are custom quilting ideas. These take much more time and effort to complete, but in my opinion are completely worth it!
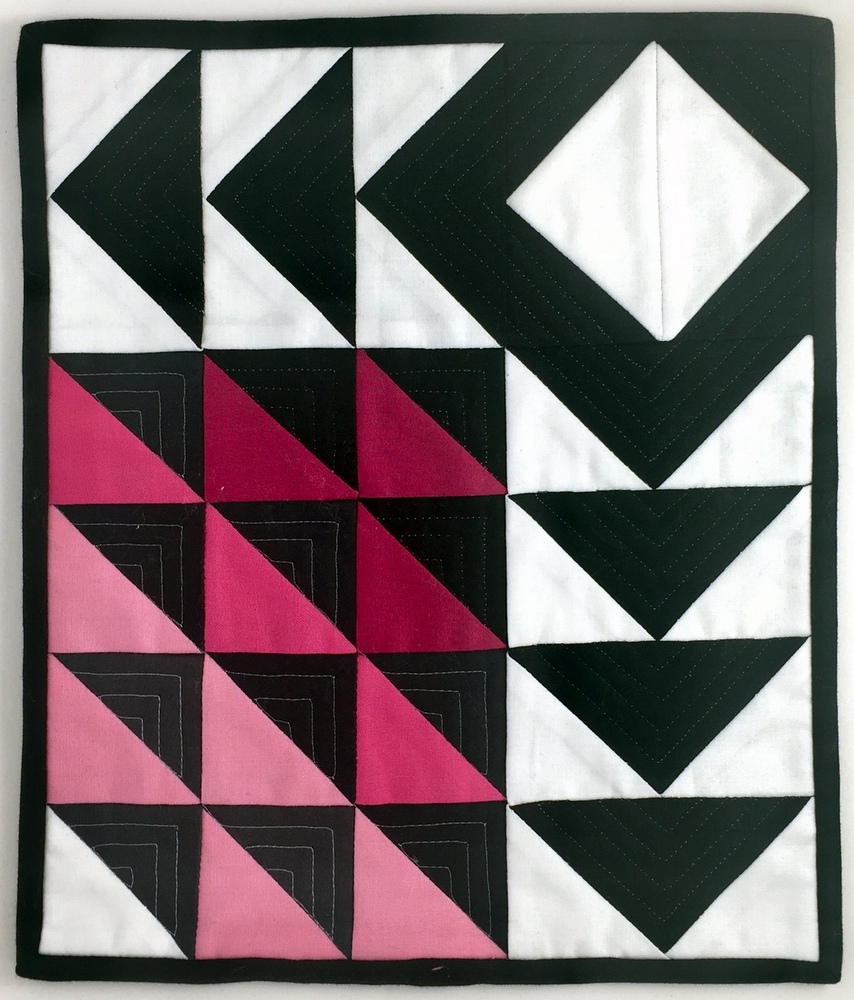
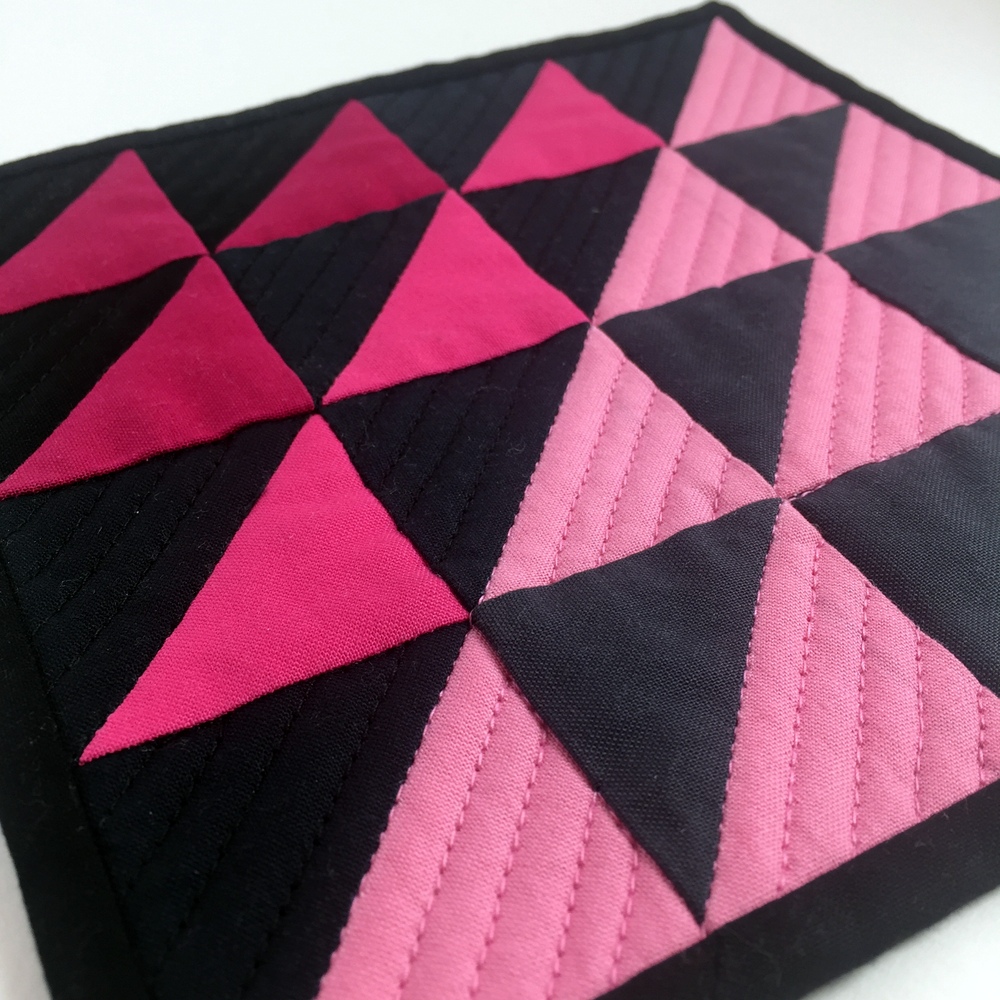
Here is a sample on which I quilted 90-degree triangles on the grays and black. I came up with this design, because I thought the triangles on HSTs toward the central diamond design and the triangles on FG units away from the diamond design provided an interesting sense of movement that takes your eyes toward the diamond. From there, your gaze travels all around the quilt.
I left the pinks and white un-quilted, so that they pop while the quilting suppresses the grays and black.
One other note on this sample: I chose thread colors that are one shade lighter than the fabric to make the quilting lines visible. To simplify, you can choose one shade of gray to quilt all grays and black.
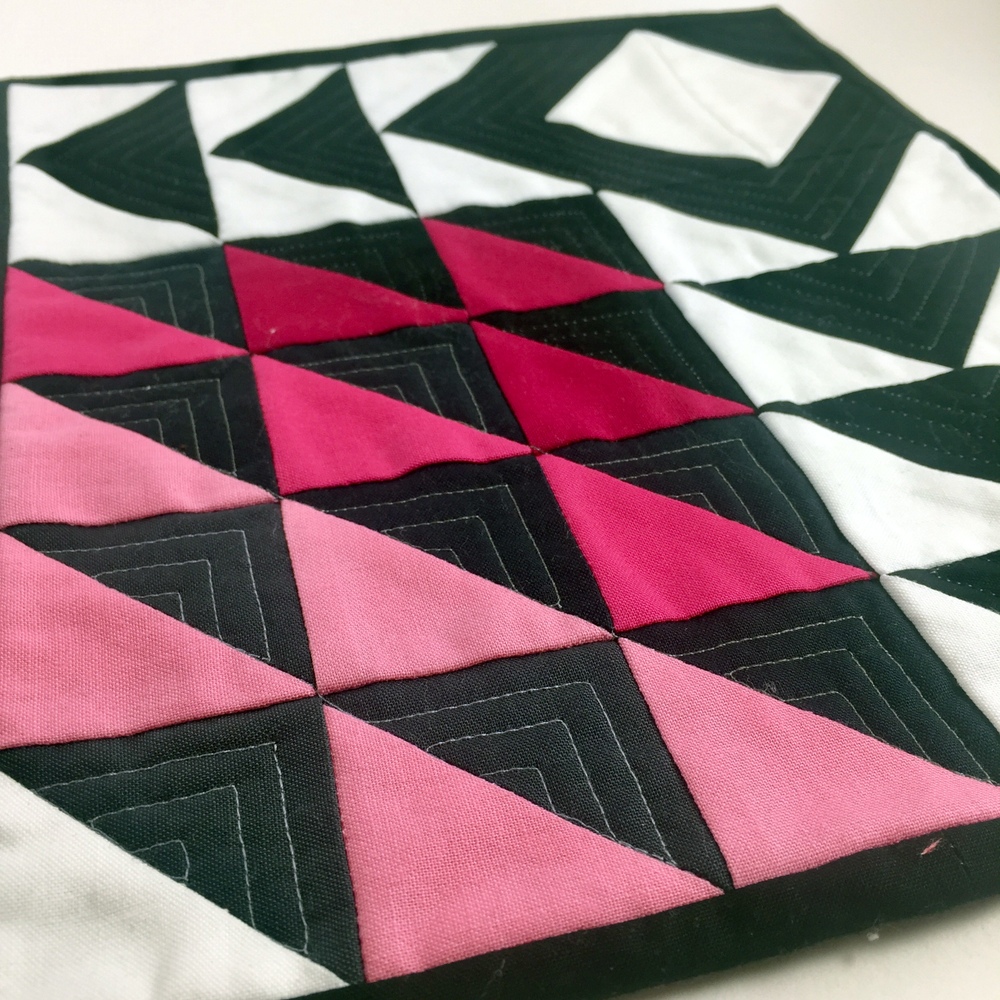
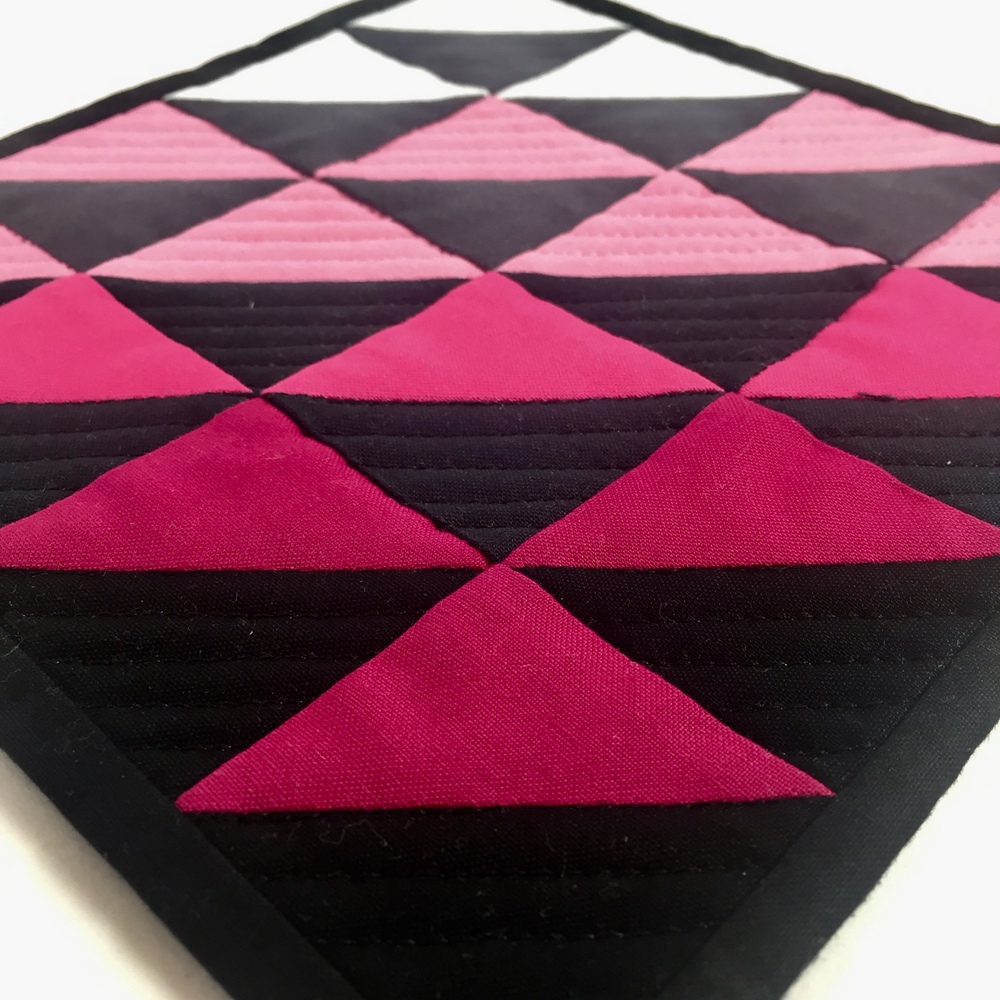
You can also choose to quilt the pinks and white and leave the grays and black un-quilted. Here is a sample where I did exactly that. This design made the grays and black more prominent as the pinks and white are pushed back.
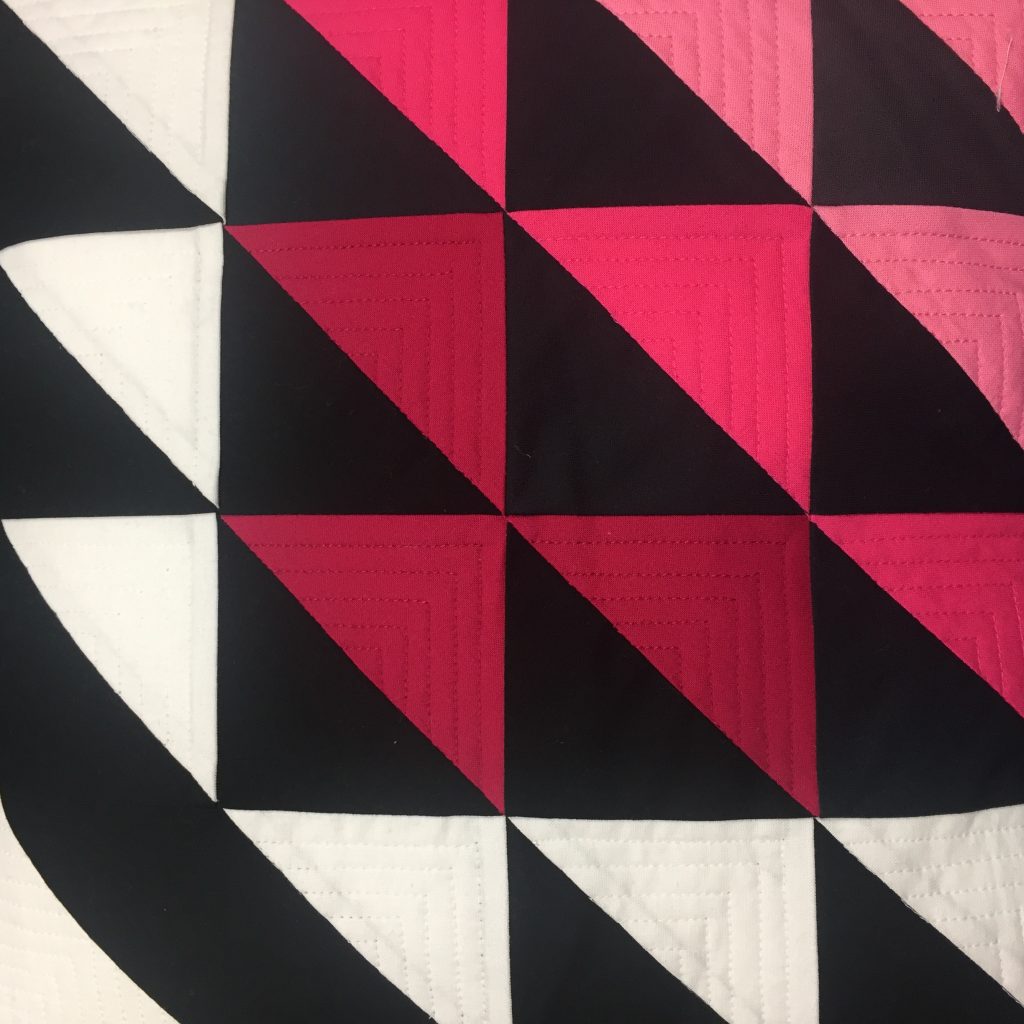
I also experimented with a simpler quilting design, opting for straight lines rather than triangles. In this sample, you’ll see that I alternated between pinks and grays. While I like this design on this particular sample, I’m not sure how it would look like on the actual quilt and where exactly you would make the switch from one colorway to the other.
I hope these examples provide you with inspiration for quilting Illusion. I can’t wait to see your ideas!
For the over-achievers: Make sample blocks to test your quilting ideas by using your left-over HST and FG units or extra fabric.
So now, let the fun continue! I look forward to seeing your blocks and hearing your quilting ideas! Don’t forget to share your progress here in the comments or on Instagram using #papatyadesigns and #IllusionSAL!
If you have any questions or feedback, don’t hesitate to leave a comment!