Click here to see the schedule of the sew-along, where you can also access the previous posts for the sew-along.
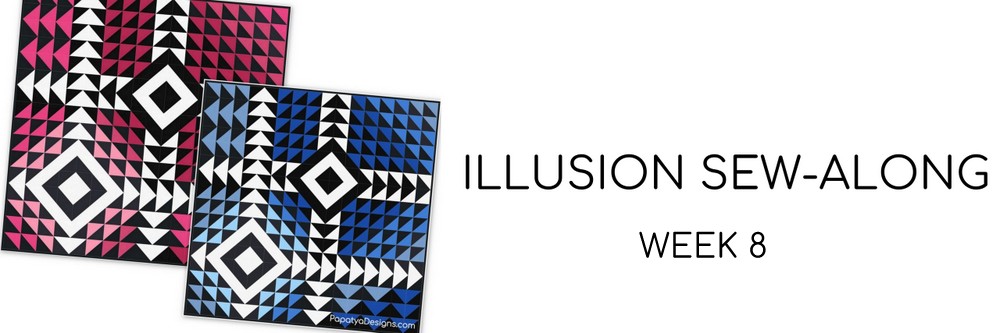
Dear fellow Illusionists, we’ve arrived at the finish line! I very much enjoyed sewing Illusion along with you over the last several weeks! I hope you had a great time, too!
This week we’ll assemble our quilt tops and see it all come together right before our eyes!
Here is what my Illusion looks like:
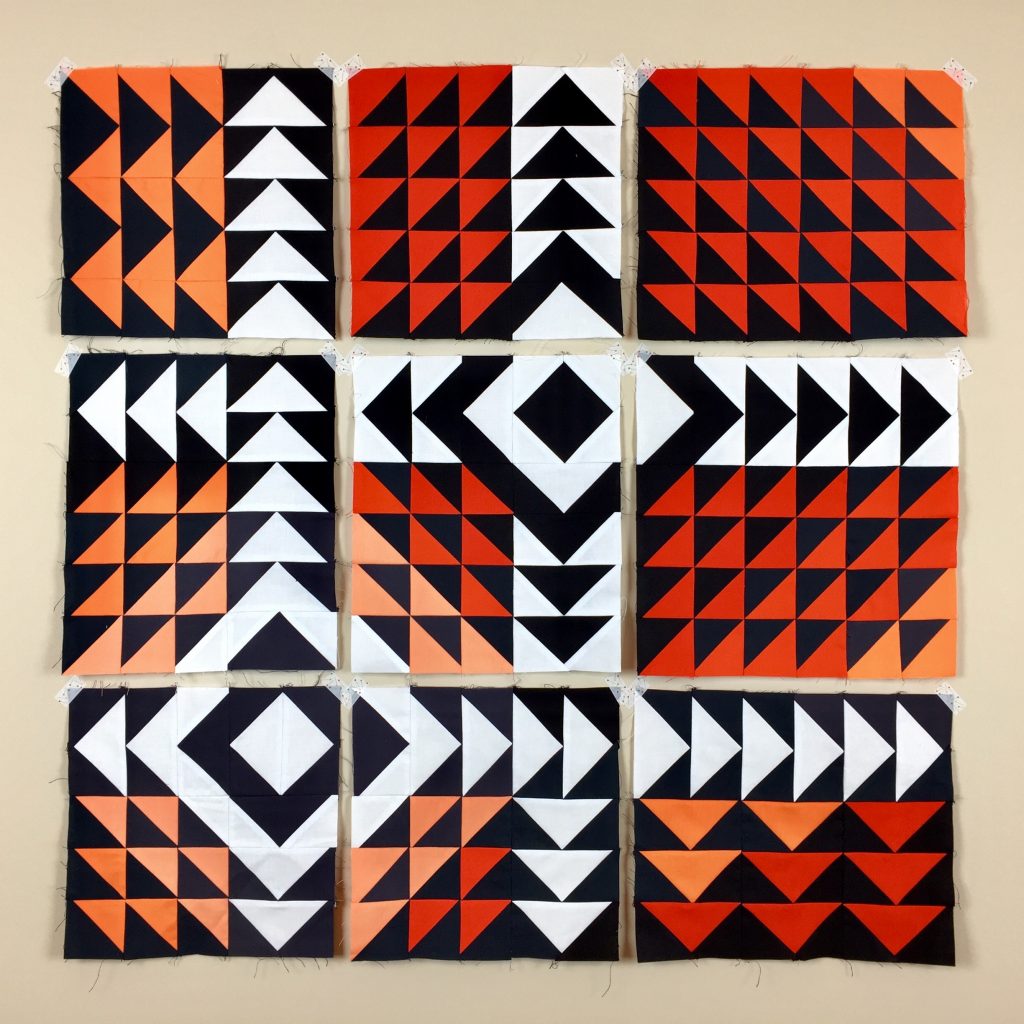
But unlike many of you, I won’t be assembling my quilt top this week, at least not yet! Since this Illusion will be a wall hanging, I’d like to quilt it a bit heavily. To make that easier on my domestic machine, I’ve decided to quilt my Illusion as I go. That means that I’ll quilt each block individually and assemble the quilt once all blocks are quilted.
Have you decided how you would like to quilt your Illusion? If you’re looking for quilting design ideas, make sure to read my blog post from a couple of weeks ago, here.
Since mine will be a wall hanging, the backing will not be very important. I’ll most likely use a solid or perhaps even plain muslin on the back. If you’re making a lap quilt or a bed quilt, you’ll likely want to find a backing fabric that goes well with the quilt top. As I was searching for good backing fabric options for Illusion, I ran into this Ombre Batiks collection by Hoffman Fabrics. What do you think? Do you think these would make good backings for Illusion?
I can’t wait to see your finished quilt tops and choices for backing! Don’t forget to share them here in the comments or on Instagram using #papatyadesigns and #IllusionSAL!
Thank you again for joining me, and I hope to sew another quilt with you soon! (Insider info 🙂 : I’ll be releasing my new pattern in the next couple of weeks, and I’m very excited about it! If you signed up for pattern updates, you’ll be among the first to know when it’s released!)